-

VIOFO Transparent Plastic Static Windshi
-

Spare Front and Rear Adhesive Pads Stick
-

GPS Module for VIOFO A229 Plus/A229 Pro/
-

Spare Front and Rear Adhesive Pads Stick
-

GPS Module for VIOFO A139/A139 PRO Front
-

GPS Module for VIOFO A129/A129 IR/A129 P
-

Spare Front and Rear Adhesive Pads Stick
-

Spare Front and Rear Adhesive Pads Stick
-

Rear Mount with Double Adhesive Sticker
-

GPS Module for VIOFO A119V3 Car Dash Cam


-

VIOFO OP100 OBD-II Power Cable for Dash
-

1.8M/2.5M SSD Hard Drive Data Connection
-

VIOFO USB-C to USB-C Charging Cable for
-

VIOFO D6000 Type-C Dual USB Cigarette Ca
-

VIOFO D5000 Type-C Dual USB Cigarette Ch
-

D3000 Dual USB Car Charger for A129 Pro
-

D2000 Dual USB Car Charger for A119V2/A1
-

A119 MINI/A119 MINI 2 Type-C Dual USB Ca
-

D2000/D3000 Mini USB 4M Long Charging Ca
-

VIOFO USB 2.0 Type-C to Type-C Data Cabl


-

VIOFO RF200 1080P Infrared Interior Came
-

VIOFO RE200 2K Rear Camera with 6M Type-
-

VIOFO RC320 1080P Rear Camera with 6M Ja
-

VIOFO RTC320 Telephoto Camera with 0.6M
-

VIOFO RWC200 Waterproof Rear Camera for
-

VIOFO RNE800 4K HDR Rear Camera with 6M
-

VIOFO RWE800 4K HDR Waterproof Rear Came
-

VIOFO RNF210 1080P Infrared Fisheye Cabi
-

RC420 2K HDR Rear Camera with 6M Cable a
-

VIOFO RTC420 2K HDR Telephoto Camera Set


-
-
Shop Dash Cams
-
1-Channel Dash Cams
- 4K Dashcam - Front Only
- 2K Dashcam - Front Only
-
2-Channel Dash Cams
- Front & Rear Dashcam
- Front & Waterproof Rear Dashcam
- Front & Telephoto Dashcam
- Front & Cabin Dashcam
-
3-Channel Dash Cams
- Front & Rear & Cabin Dashcam
- Front & Rear & Telephoto Dashcam
- Front & Cabin & Waterproof Rear Dashcam
- Front & Two Waterproof Rear Dashcam
- Front & Telephoto & Waterproof Rear Dashcam
- Front & Cabin & Telephoto Dashcam
-
VIOFO Series
-
-
Accessories
-
Memory Card
- Memory Card
-
CPL Filter
- CPL Filter
-
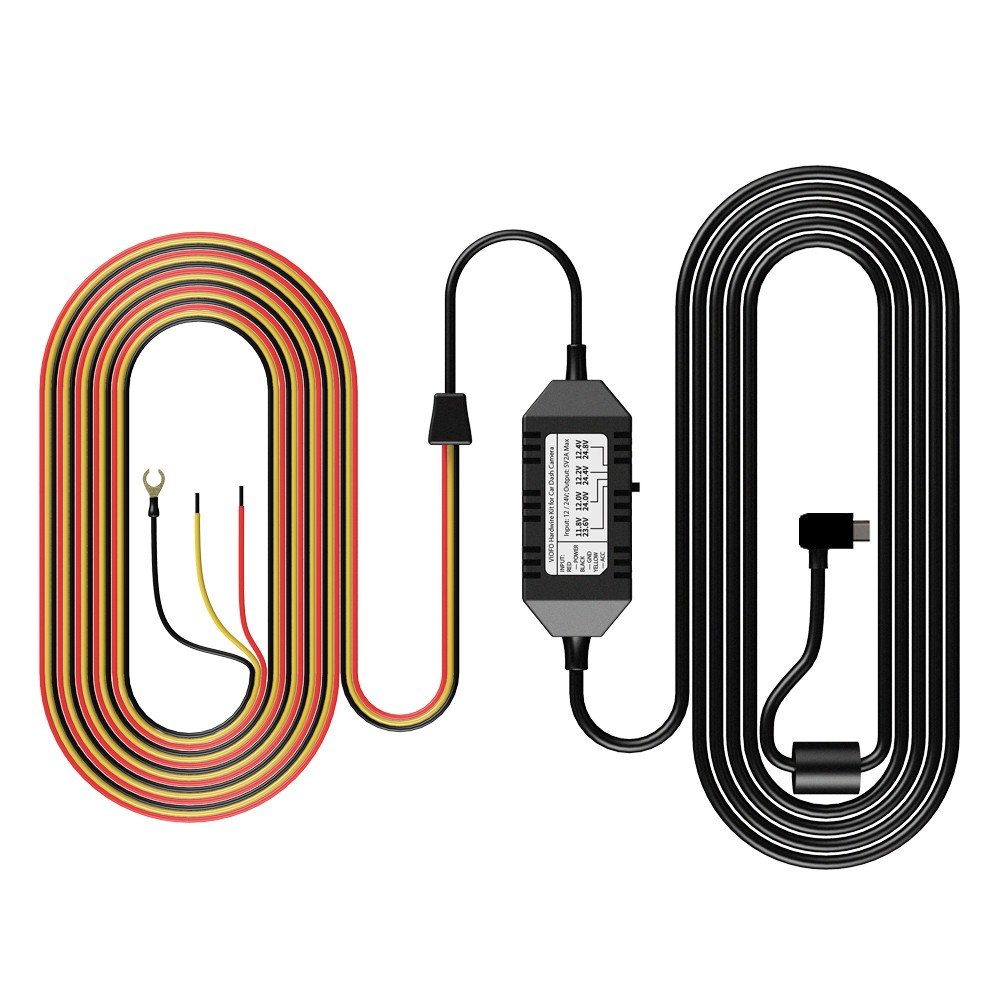
Hardwire Kit
-
Battery Pack
-
GPS Mount & Sticker
- GPS Mount & Sticker
-
Charger & USB Cable
-
Rear Cam & Cable
-
Remote Control
- Remote Control
-
-
Support
-
-