


What is Wi-Fi Station Mode?
Wi-Fi Station Mode allows your VIOFO dashcam to connect directly to your home network, enabling convenient remote access to dashcam files. Once in this mode, you can browse and download videos using a computer or mobile browser connected to the same network. You can also stream live video with an RTSP player (e.g., VLC).
VIOFO Dashcam Models That Support Wi-Fi Station Mode
The following VIOFO dashcams support Wi-Fi Station Mode:
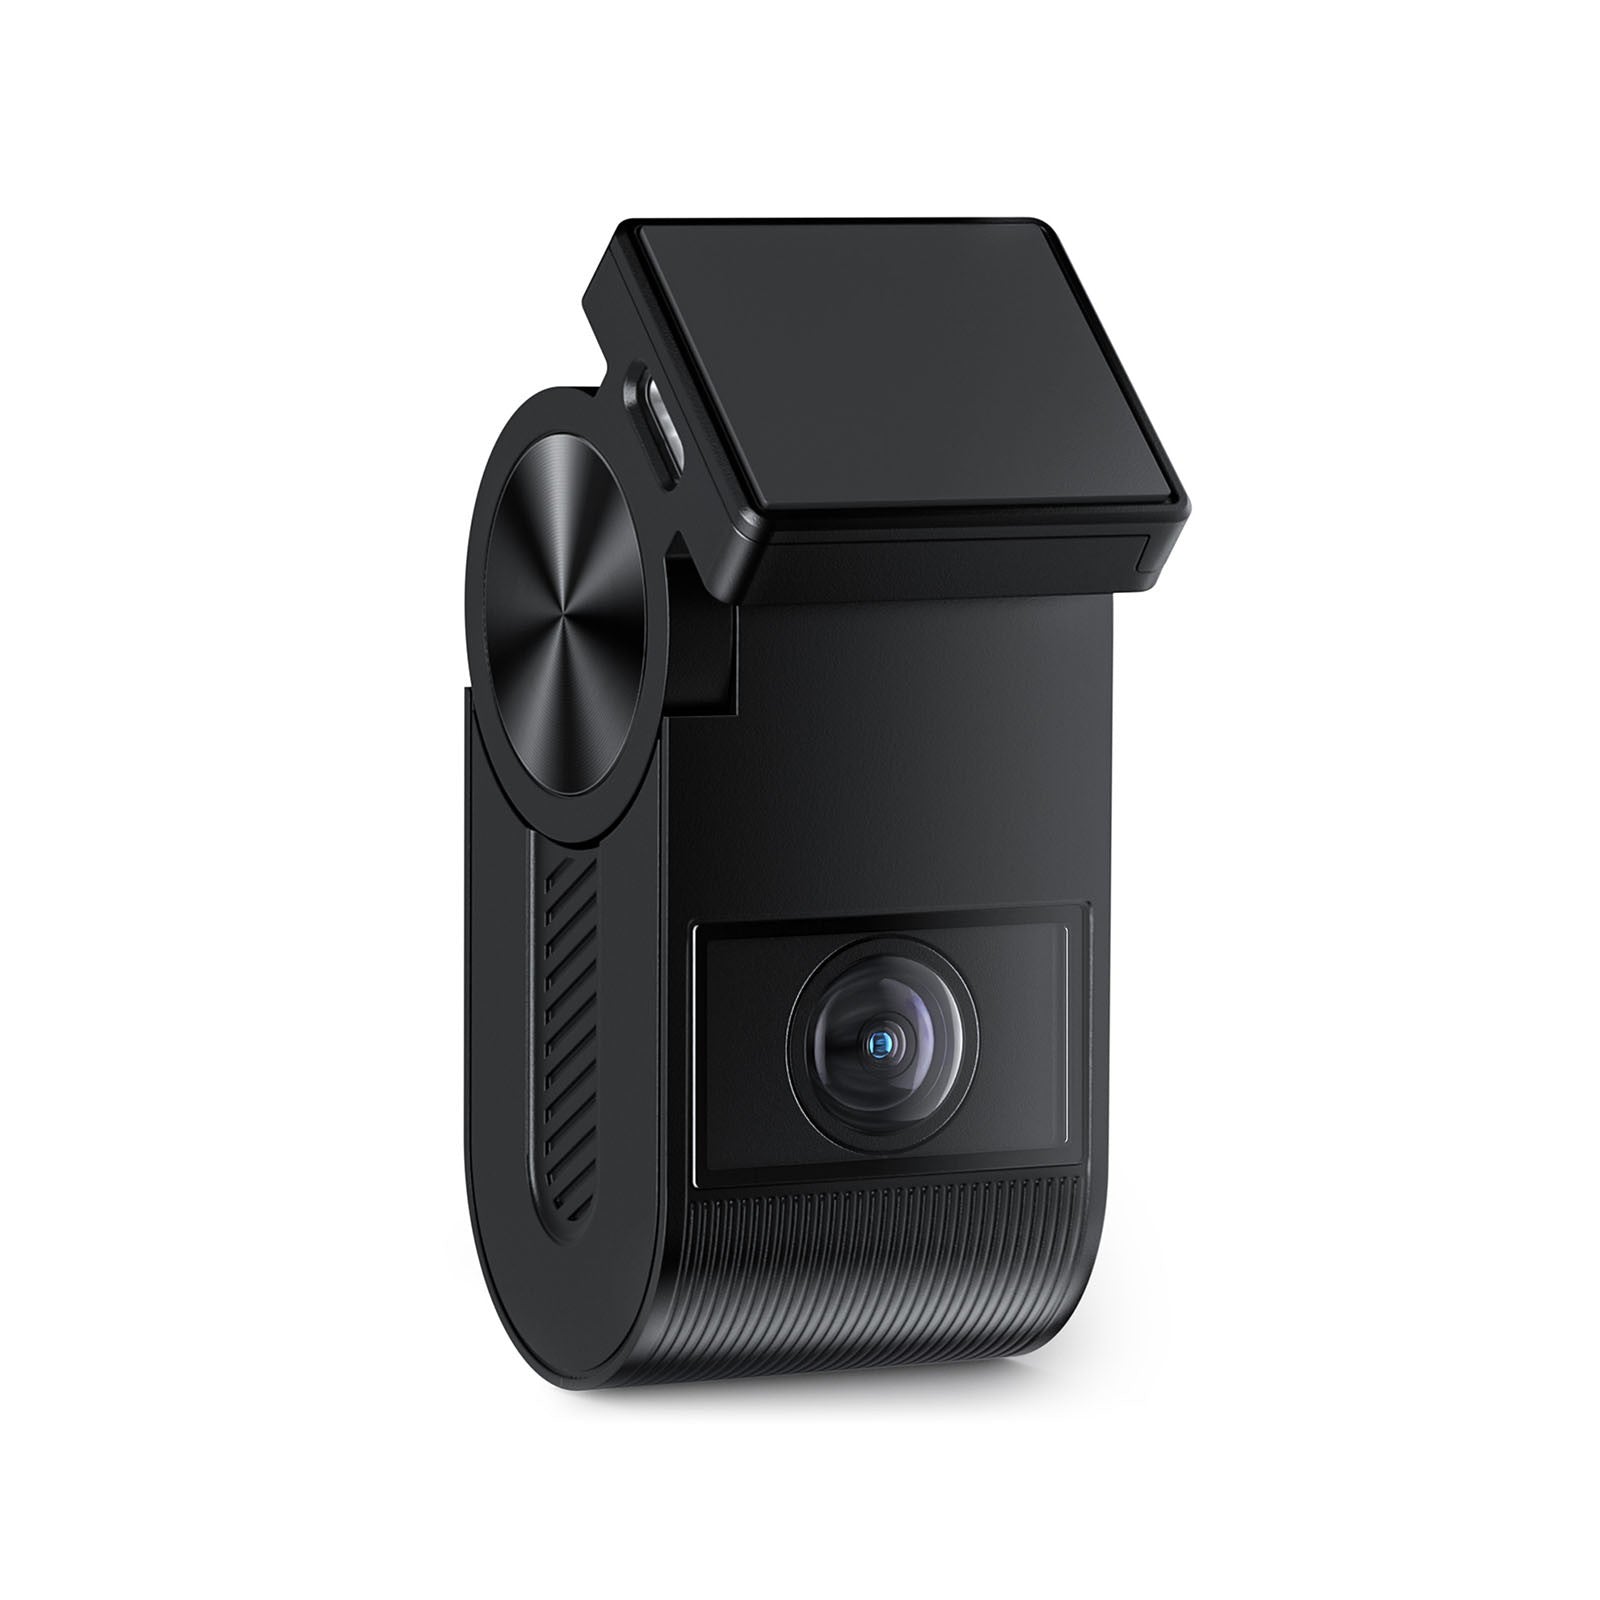
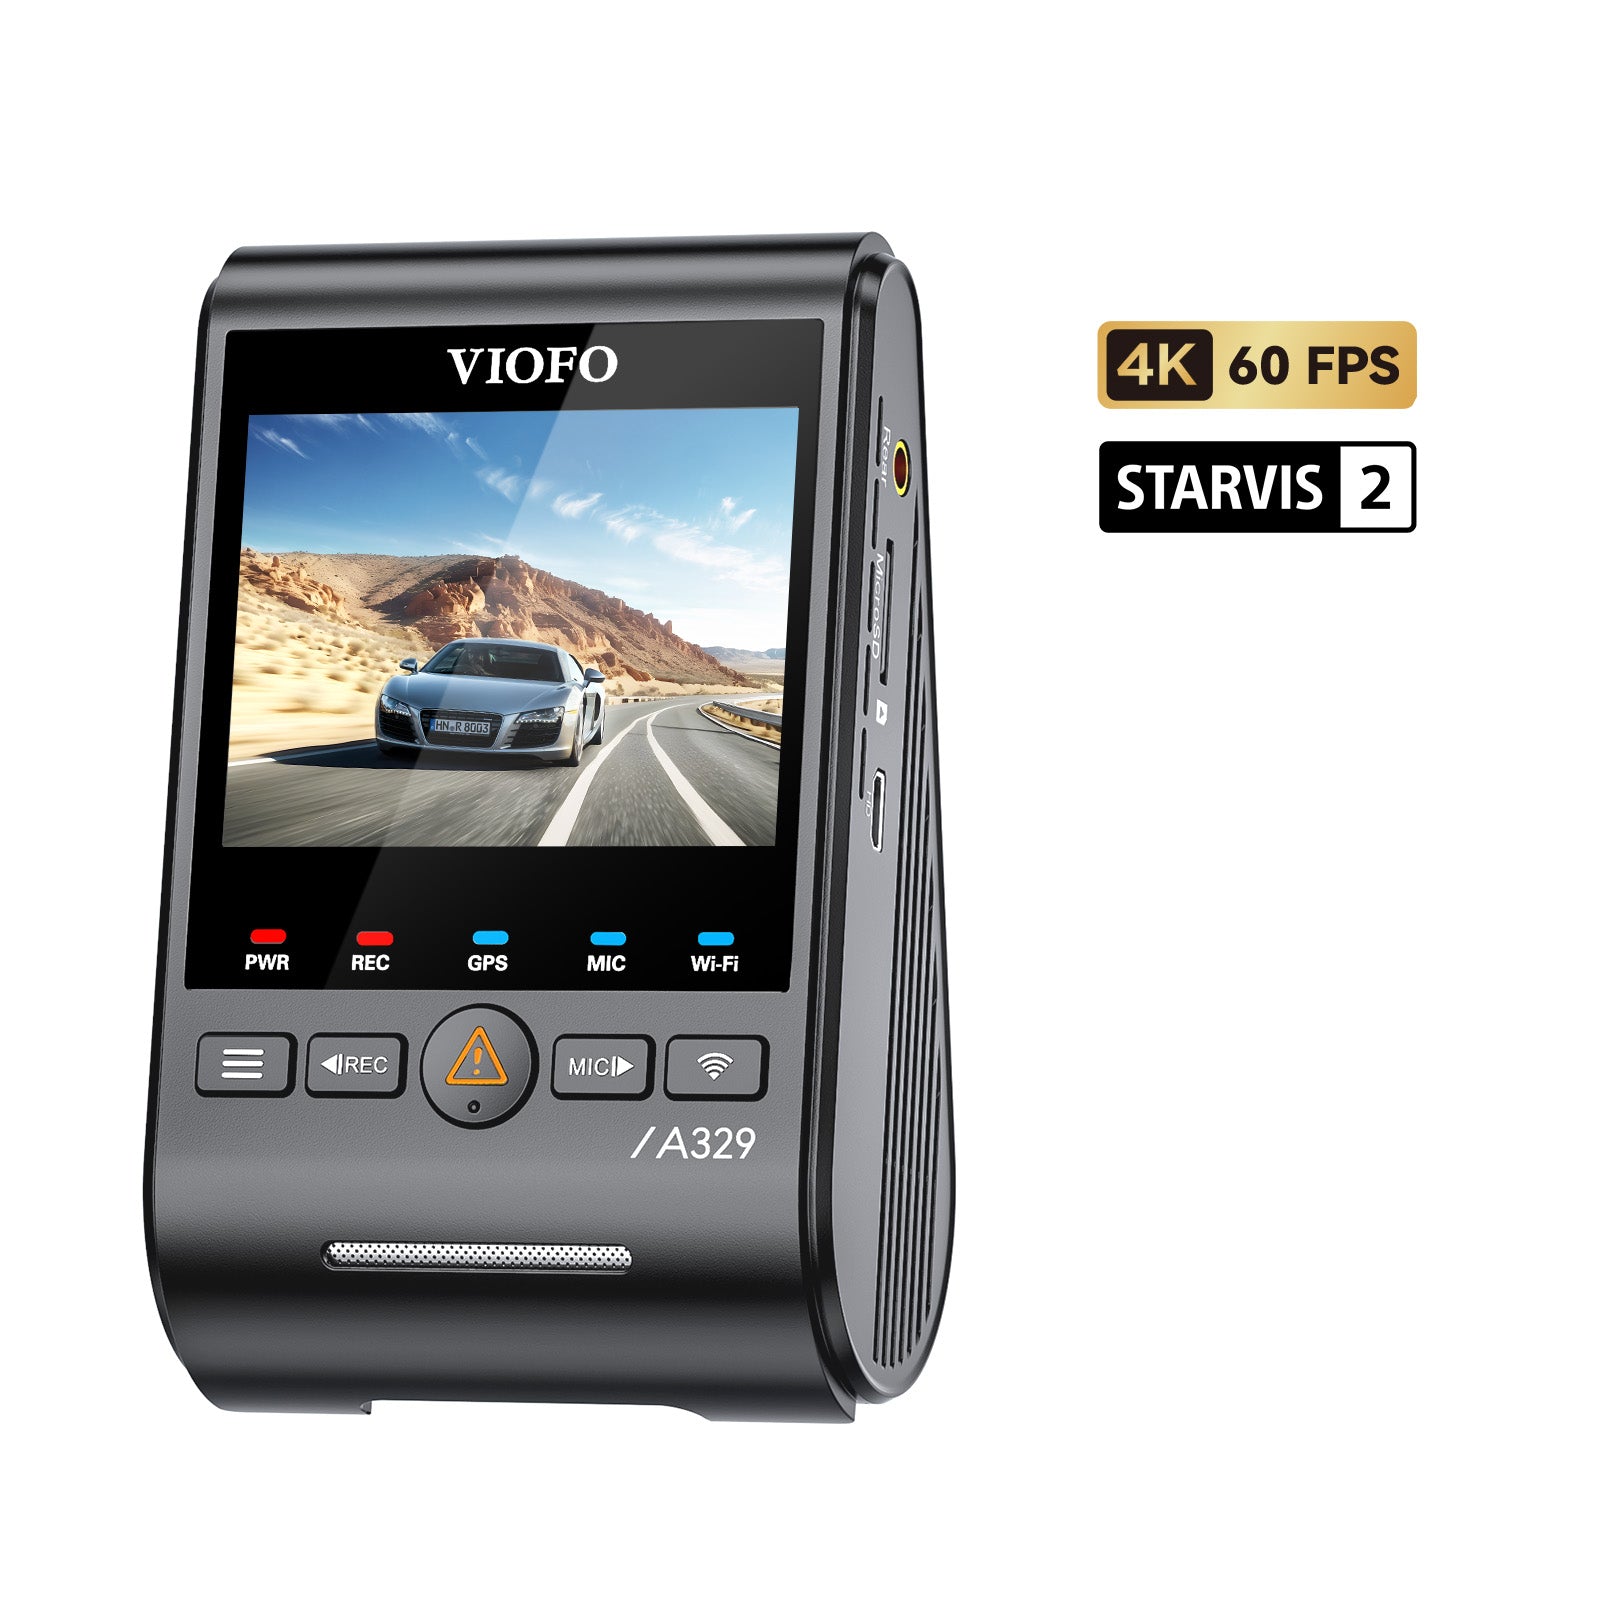
A329 Series
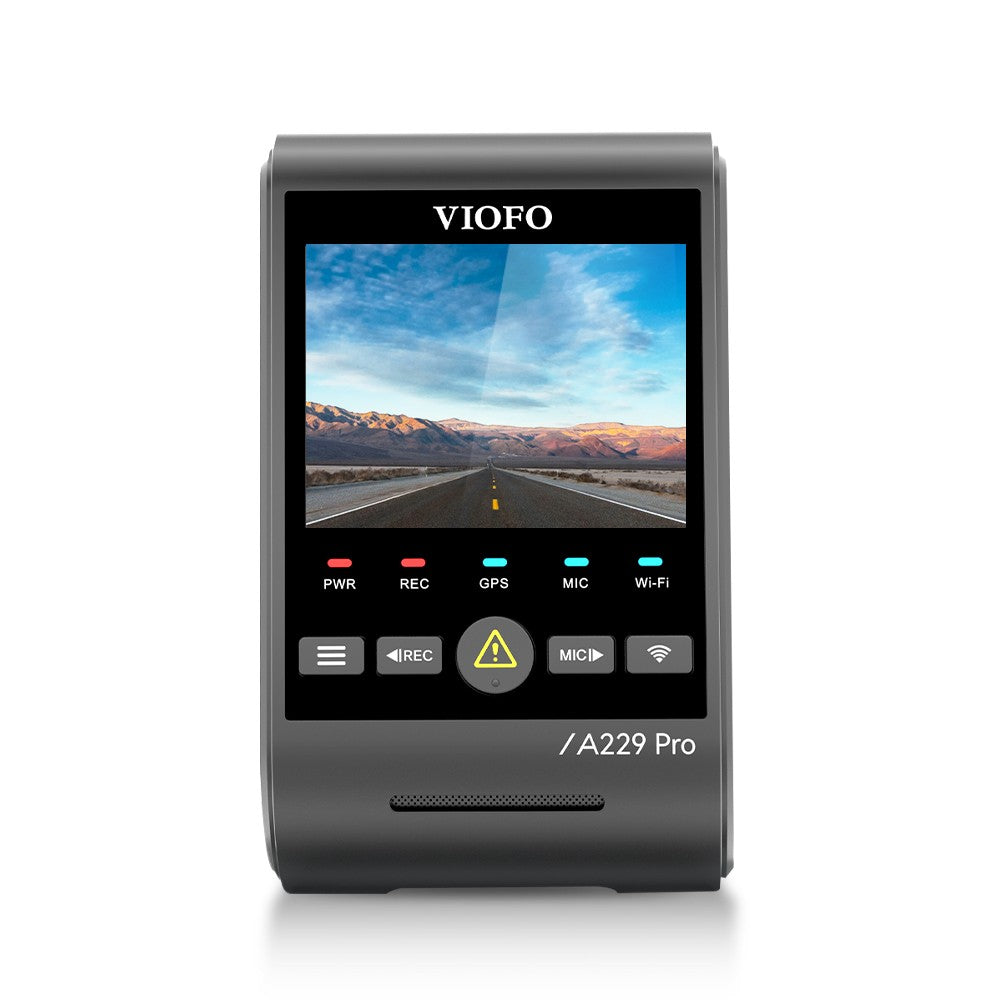
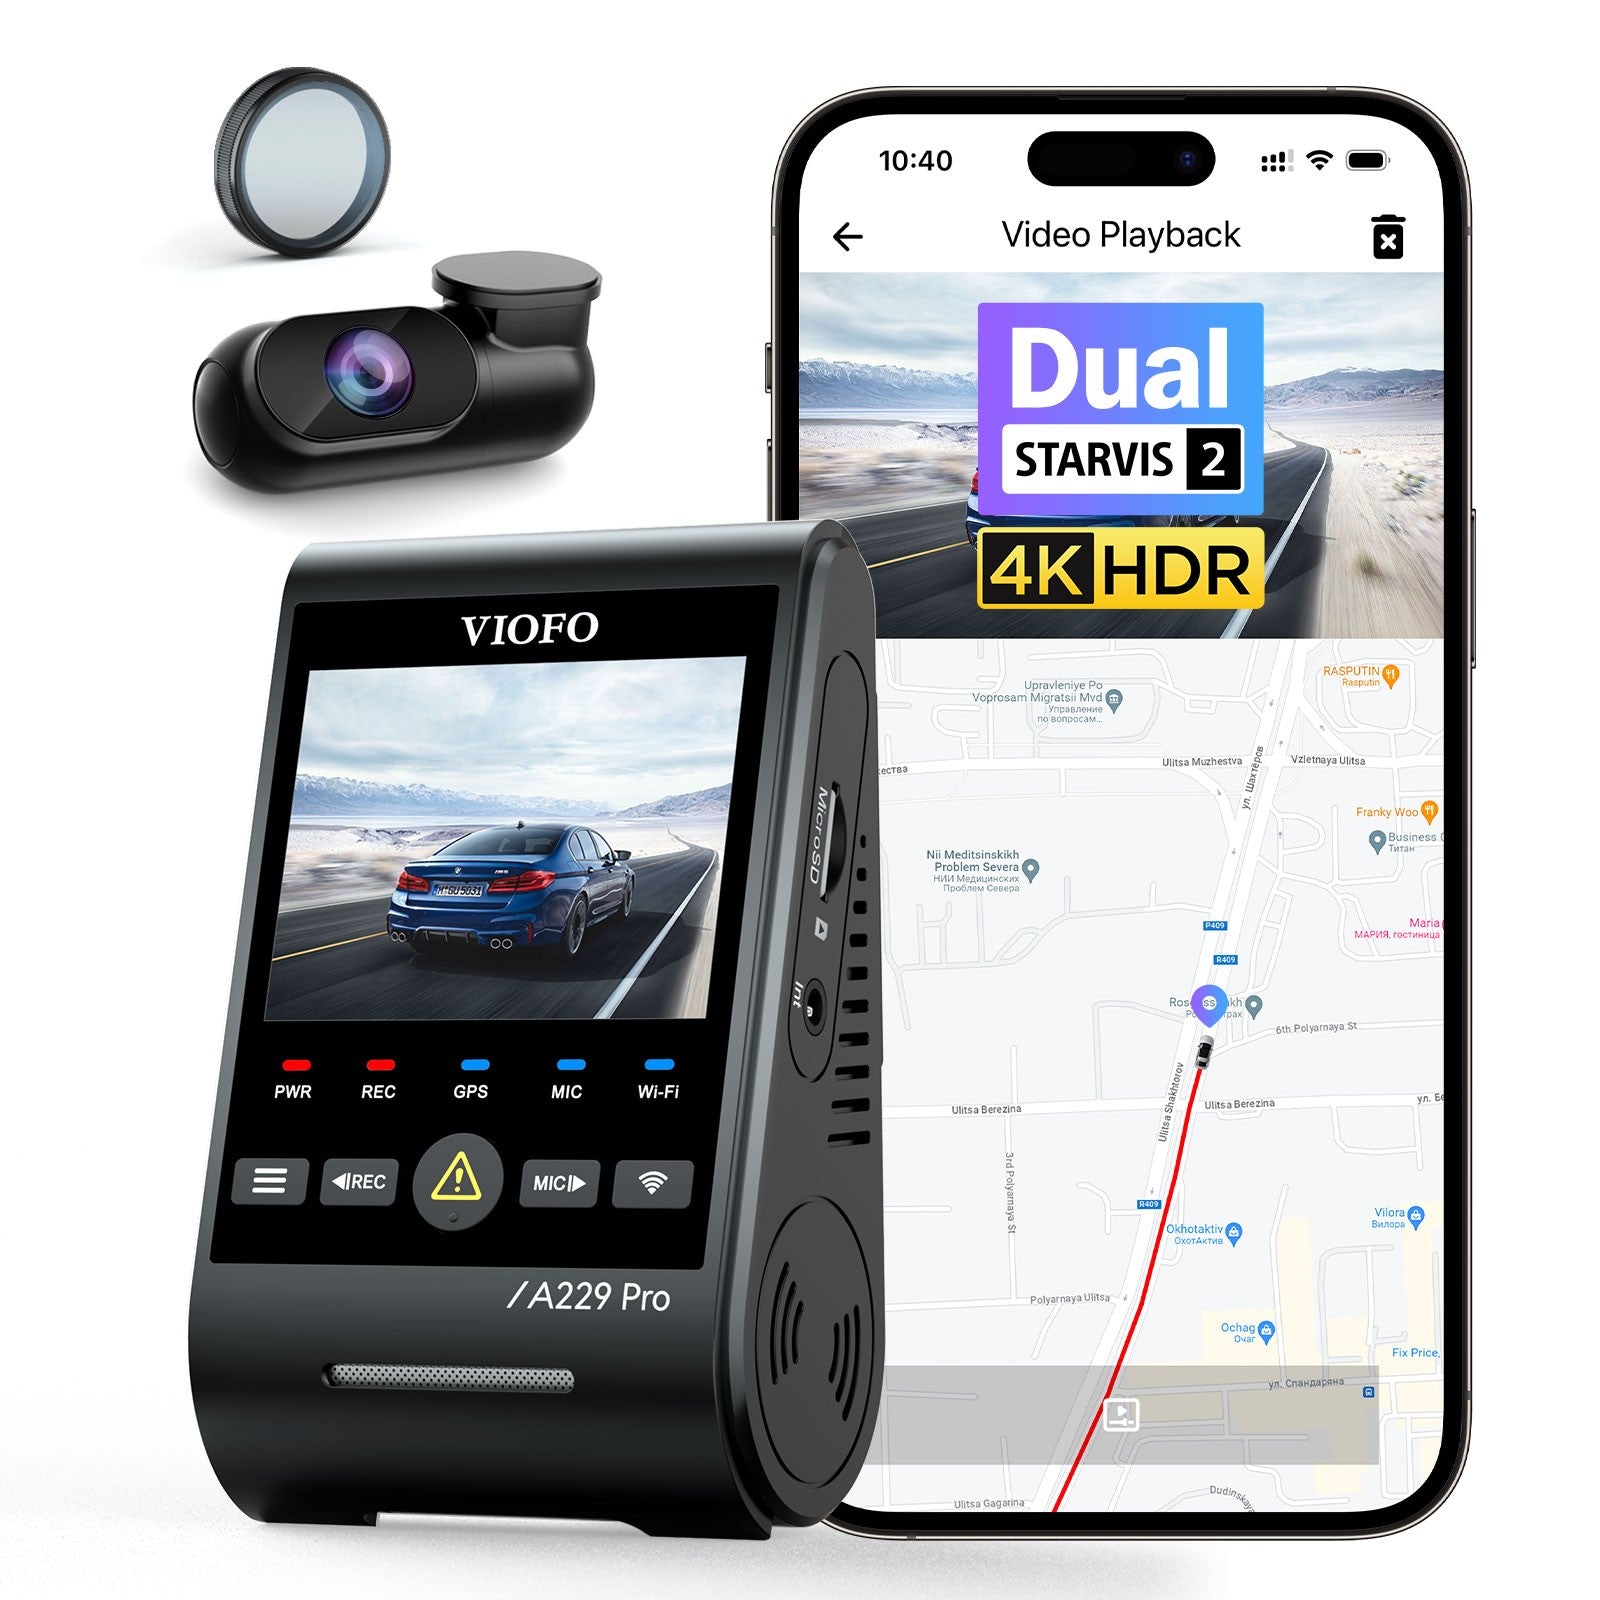
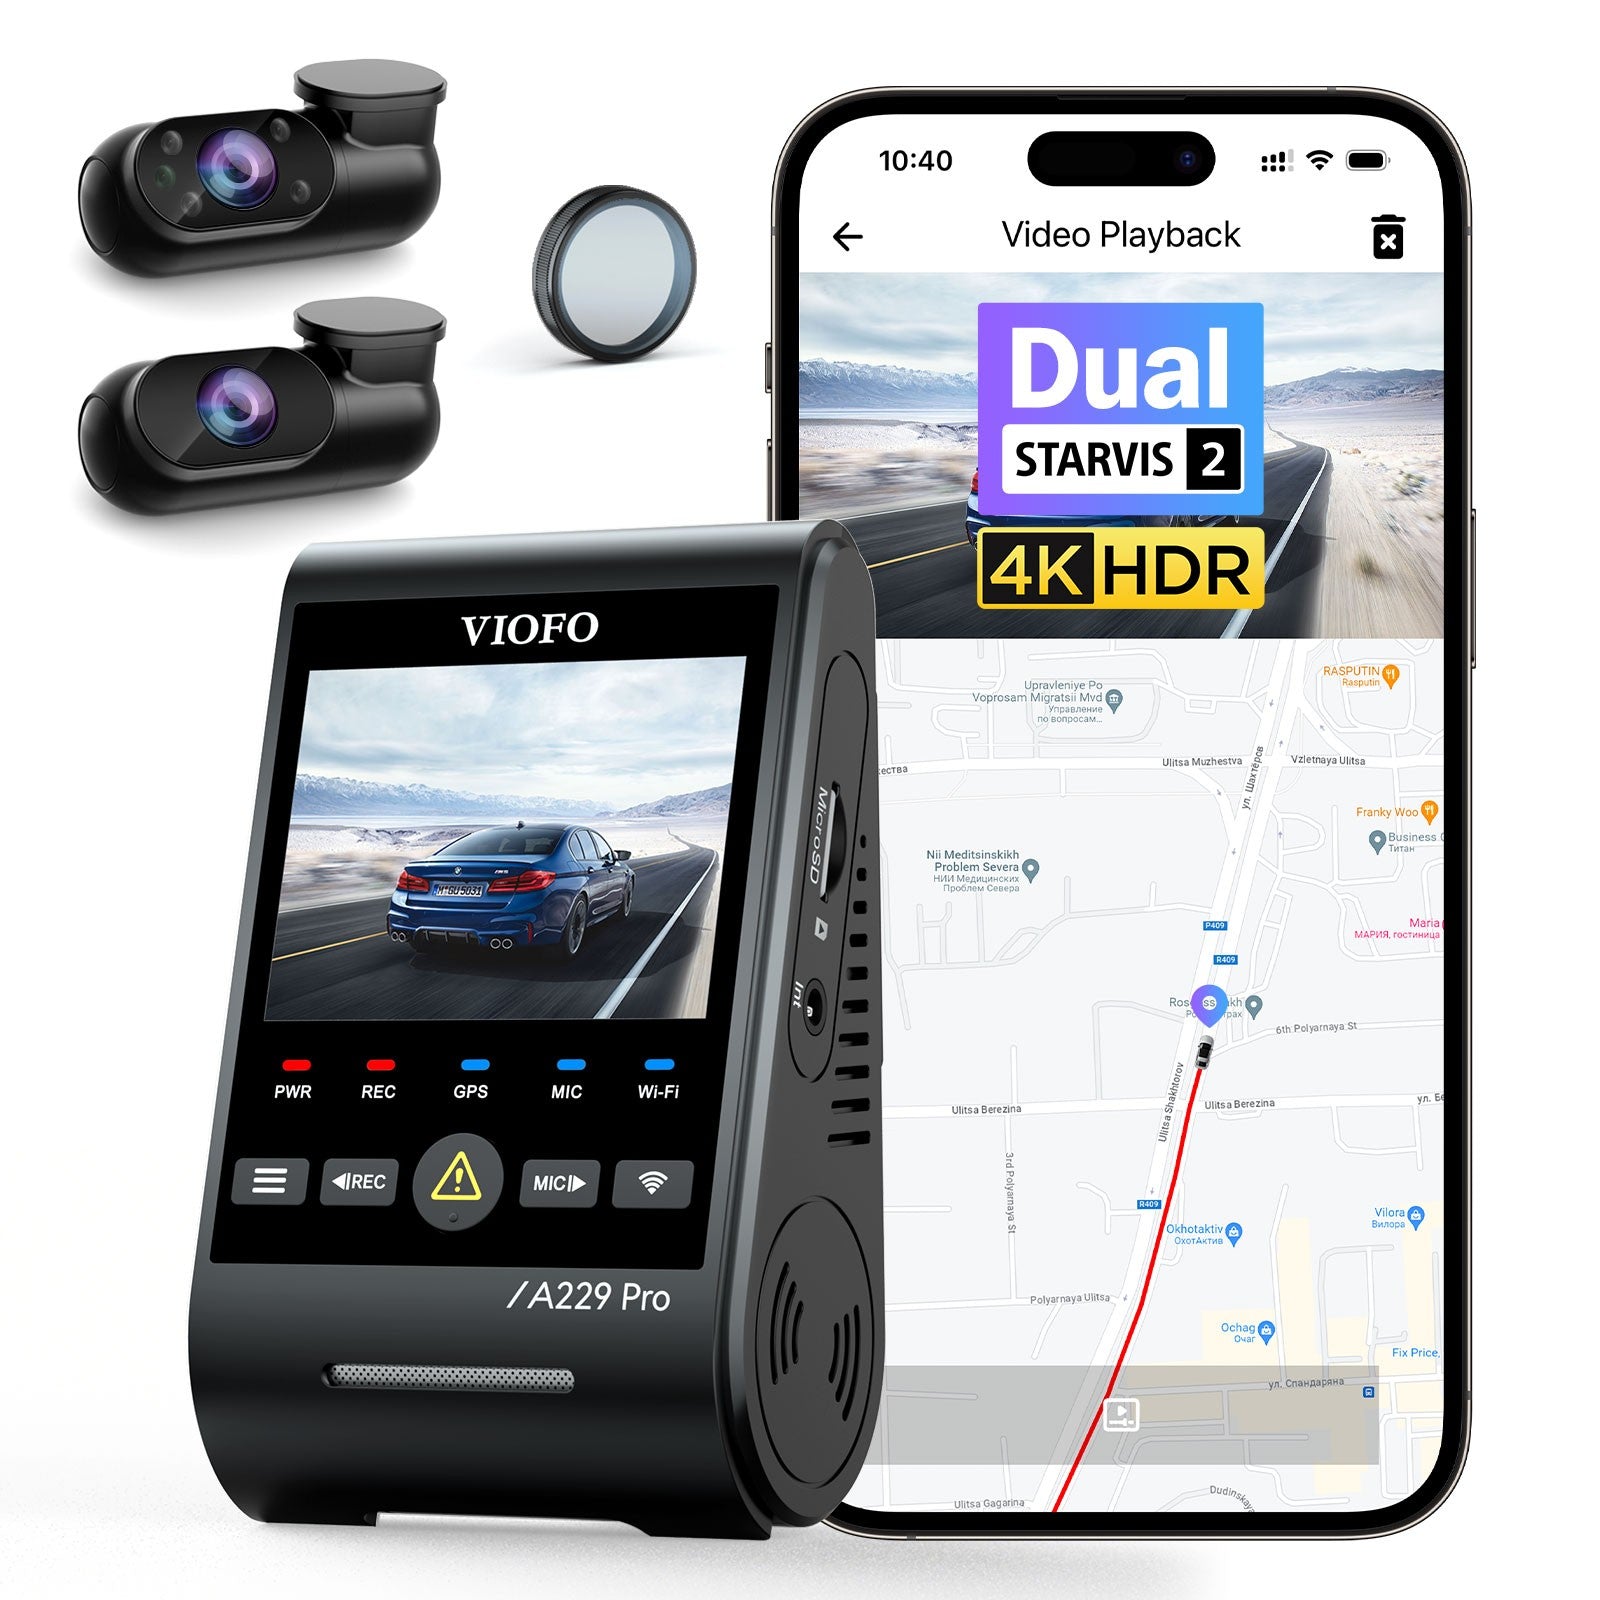
A229 Pro Series
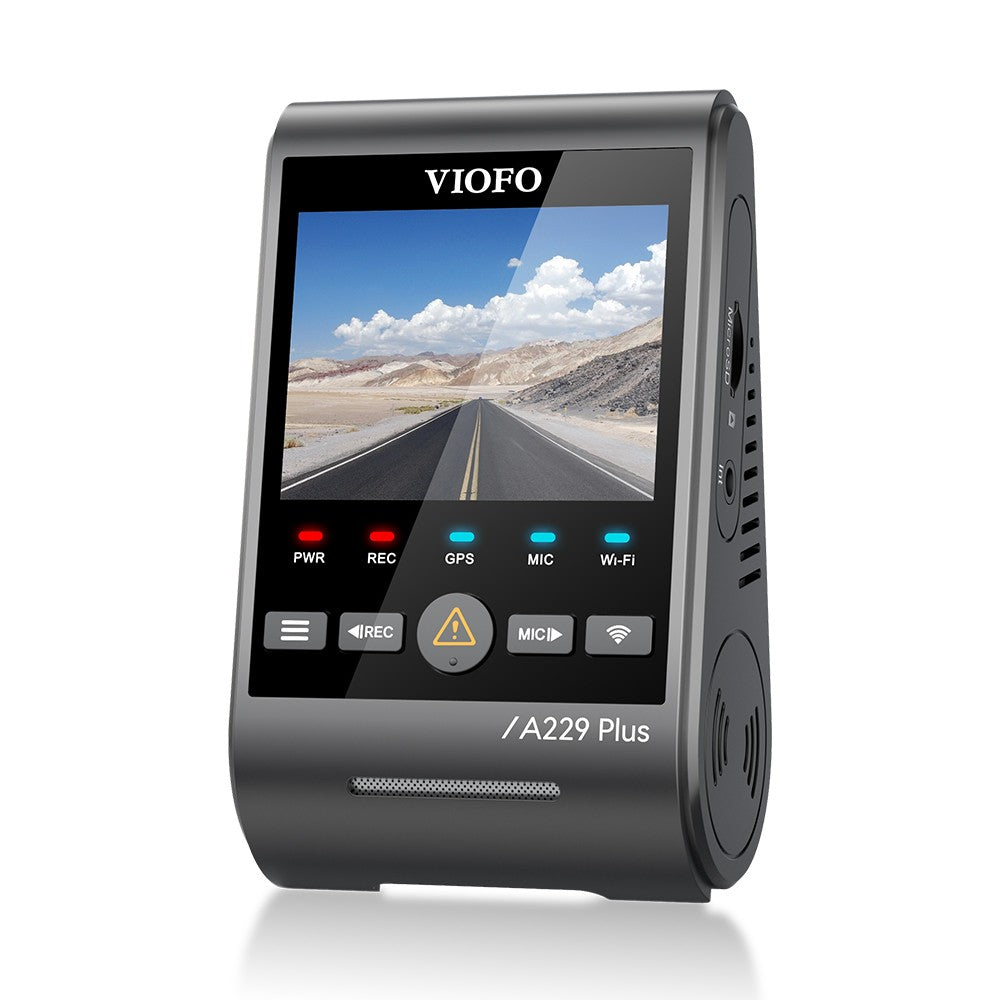
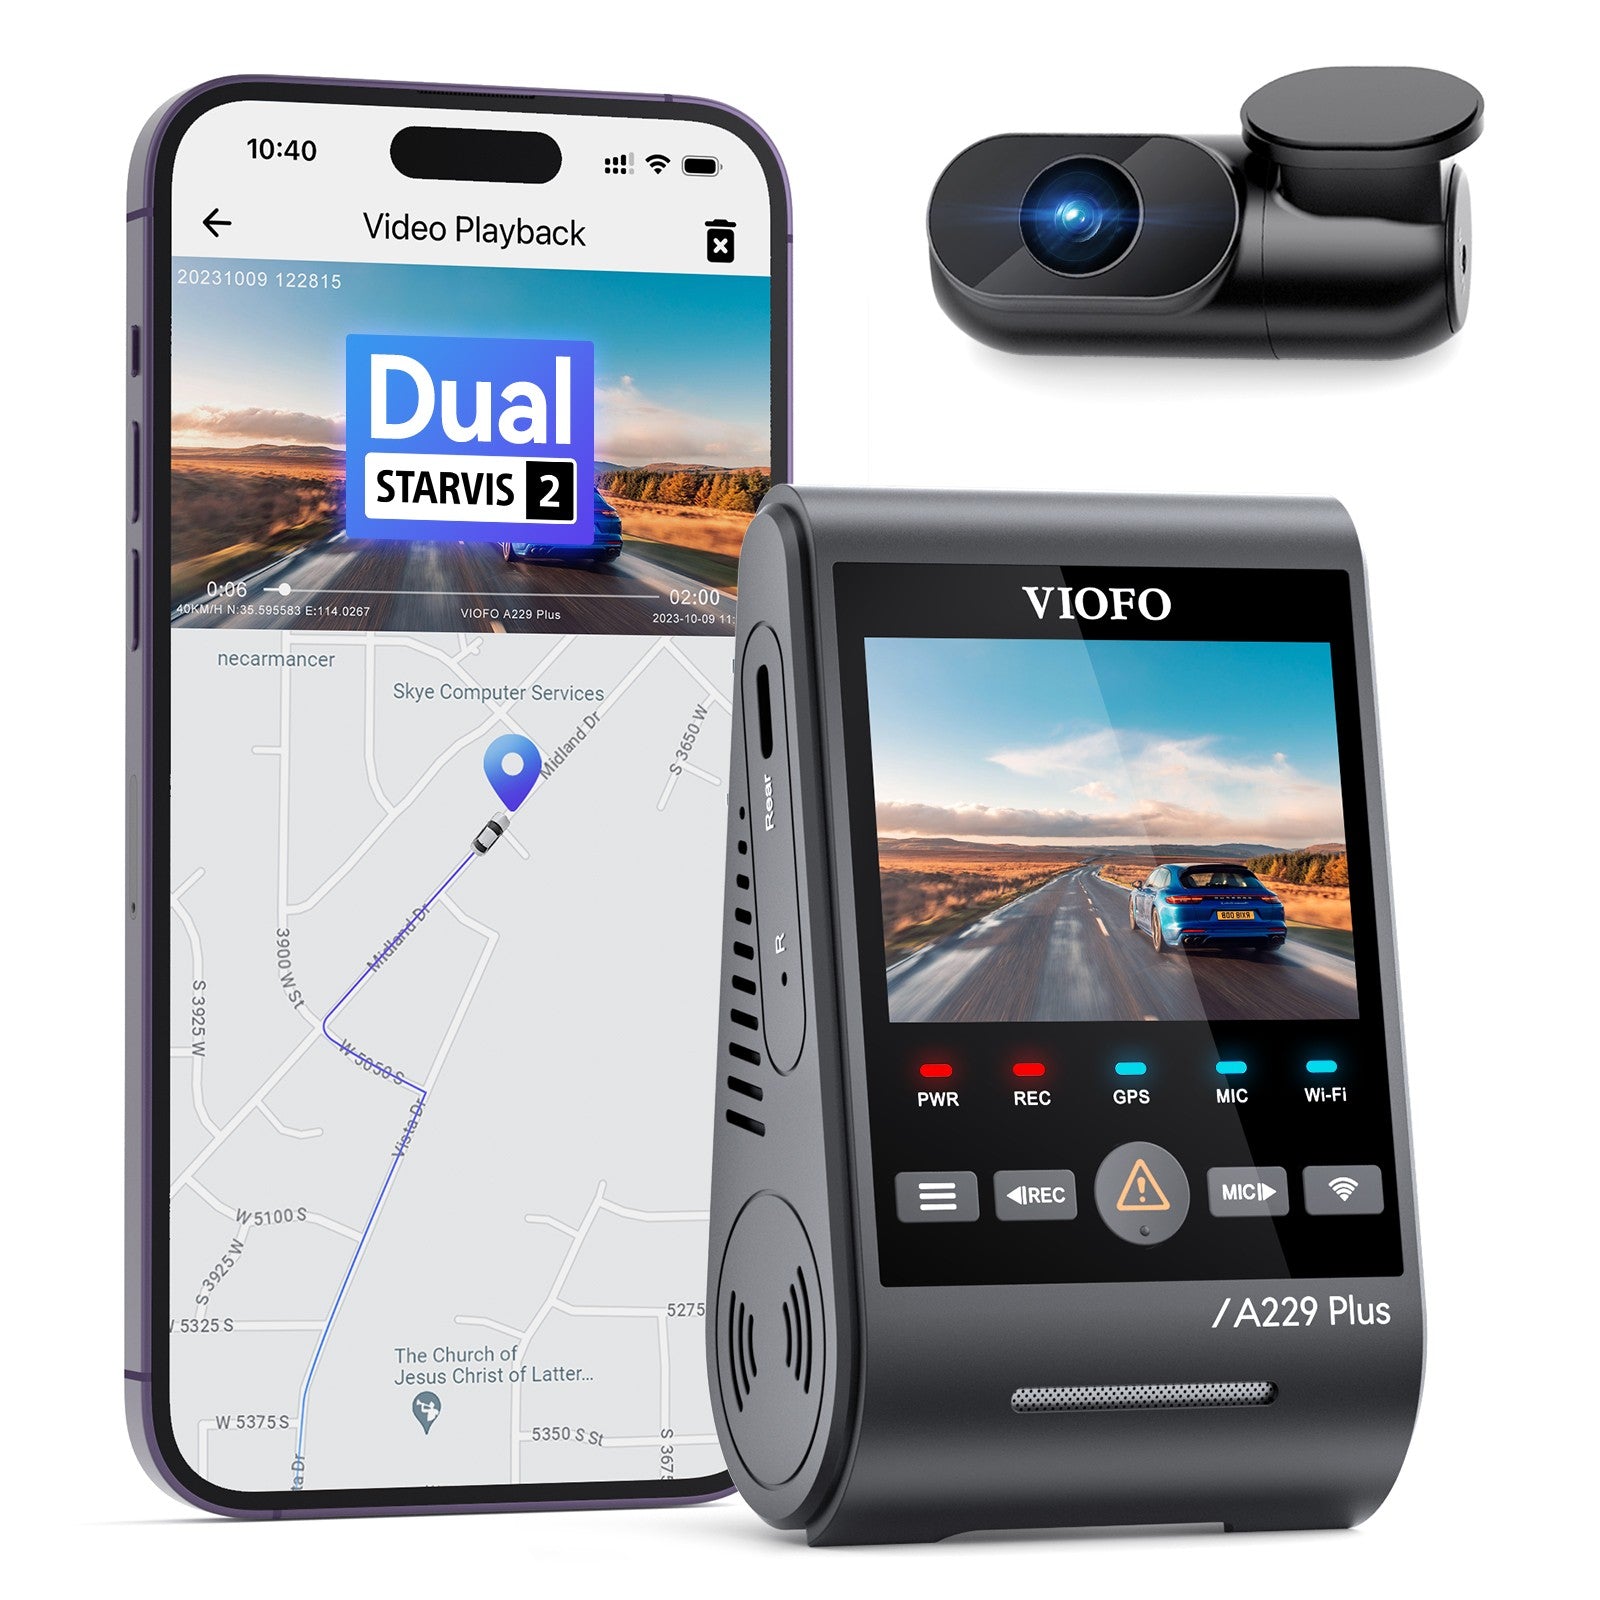
A229 Plus Series
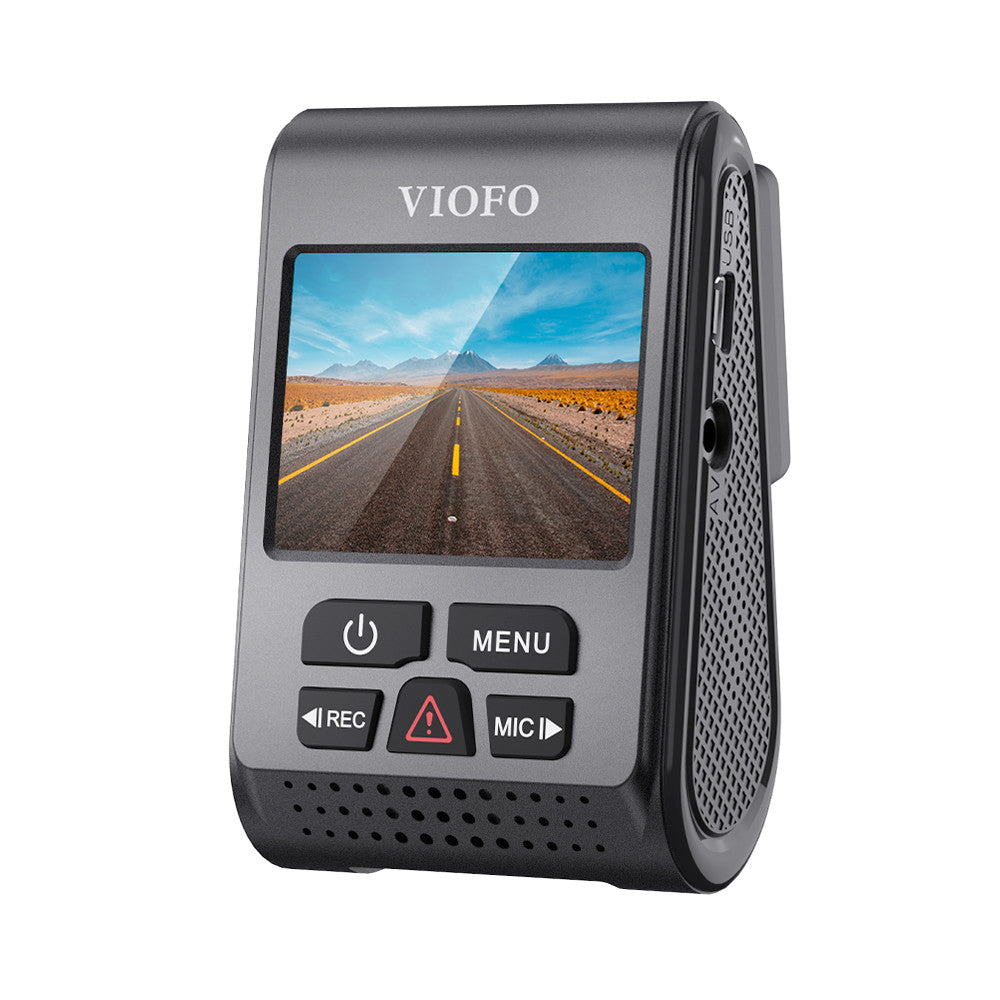
A139 Pro Series
A139 Series
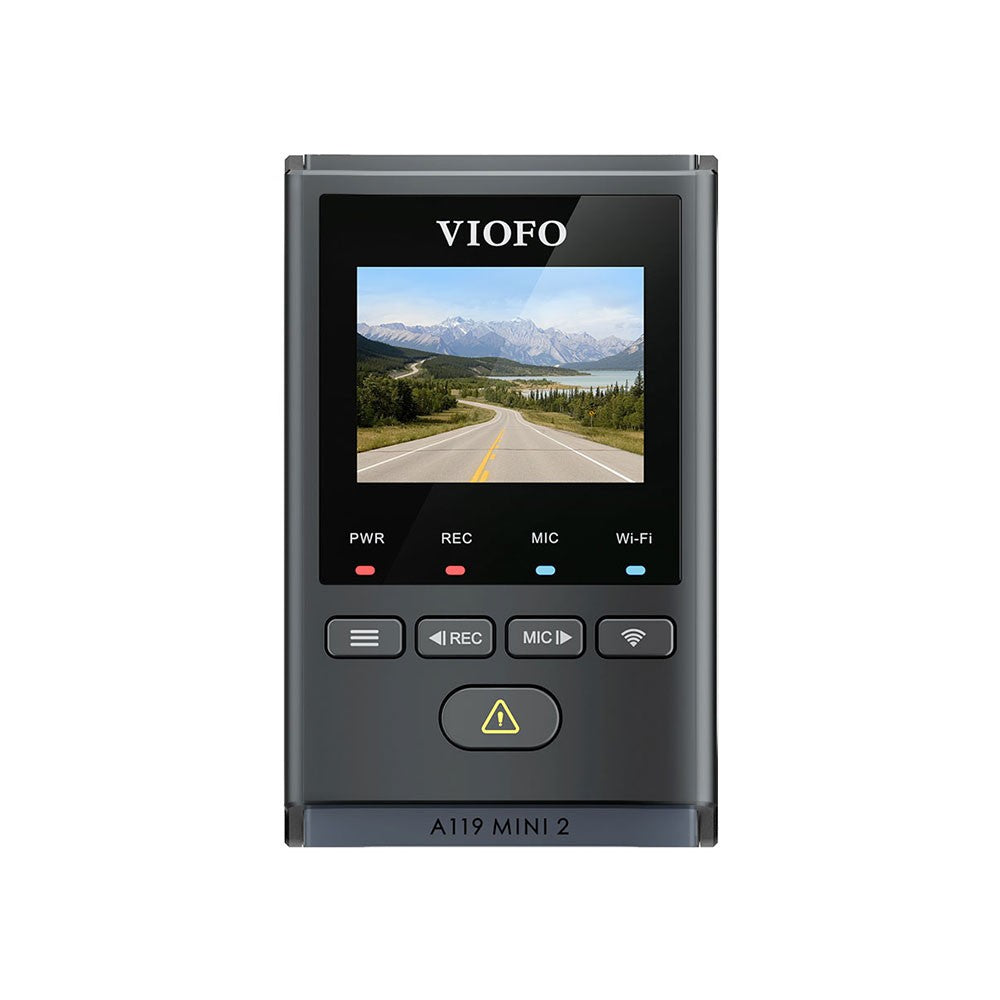
A119 Mini 2
How to Enable Wi-Fi Station Mode?
Follow the steps below to enable Wi-Fi Station Mode on your dashcam:
Step 1: Power on the Dashcam
- Ensure your dashcam is powered on and ready for setup.
Step 2: Connect the VIOFO App
- Long press the Wi-Fi button to turn on the dashcam Wi-Fi.
- Connect your smartphone to dashcam Wi-Fi.
- Open the VIOFO App, and connect your dashcam.
Step 3: Enter the Settings Menu
- Stop recording, and press the button to enter Settings Menu.
Step 4: Go to “Wi-Fi Station Configuration”
- Scroll to find “Wi-Fi Station Configuration”, then tap to enter.

Step 5: Connect Your Home Network
- Enter your home network Wi-Fi name and password, then press OK.
Step 6: Turn on the Wi-Fi Station Mode
- Long press the Wi-Fi button to disable the dashcam Wi-Fi.
- Hold both REC and Wi-Fi button to turn on Wi-Fi Station Mode. Once Wi-Fi Station Mode is enabled, the dashcam will say 'Wi-Fi Station Mode Enabled'.
Note: The shortcut to enable Wi-Fi Station Mode may vary across different dashcam models. Please refer to the details below:
Hold both REC and Wi-Fi button to turn on Wi-Fi Station Mode
A139 Pro Series
A139 Series
A119 Mini 2
Hold both MIC and Wi-Fi button to turn on Wi-Fi Station Mode
A329 Series
A229 Pro Series
A229 Plus Series
Step 7: Successful Connection
- Once connected to the home network successfully, the dashcam will say ‘Wi-Fi Connected’.
Step 8: Access Files or Live Stream
- You can now use a browser or RTSP player to access dashcam files or view real-time recording videos. Simply ensure your computer or mobile device is connected to the same network.
Here are Step-by-Step Guide Videos on how to enable Wi-Fi Station Mode:
How to Enable Wi-Fi Station Mode on VIOFO A329 Dashcam?
How to Enable Wi-Fi Station Mode on VIOFO A139 Pro Dashcam?
How to Access Dashcam Files and Stream Live Video?
To view the recorded files and real-time recording from your VIOFO dashcam, follow these steps:
1. Find the Dashcam's IP Address
For our dashcams with a screen, once successfully connected to your home network, the dashcam’s IP address will be displayed on the camera screen.

For our screenless dashcams, such as the A139 or A139 Pro series, please follow the steps below to locate the dashcam’s IP address:
- Log in to your Wi-Fi router's admin interface via your browser. (Usually, this is done by typing the router's IP address in the browser's address bar, like 192.168.1.1 or 192.168.0.1).
- Locate the list of connected devices in the router's settings.
- Find the IP address assigned to your VIOFO dashcam.
2. View Live Video Stream Using VLC
- Open the VLC media player on your computer.
- Go to the Media menu and select Open Network Stream.
- In the network URL field, type rtsp://<IP_ADDRESS> (replace <IP_ADDRESS> with the IP address of your dashcam).
- Click Play to start the live video stream from your dashcam.
3. View Recorded Files Using Browser
- Open a web browser on a computer or smartphone connected to the same Wi-Fi network as your dashcam.
- Type the IP address of the dashcam into the browser's address bar.
- Navigate to the File Folder in the web interface. Now you can browse and download your recorded files directly from the web.