


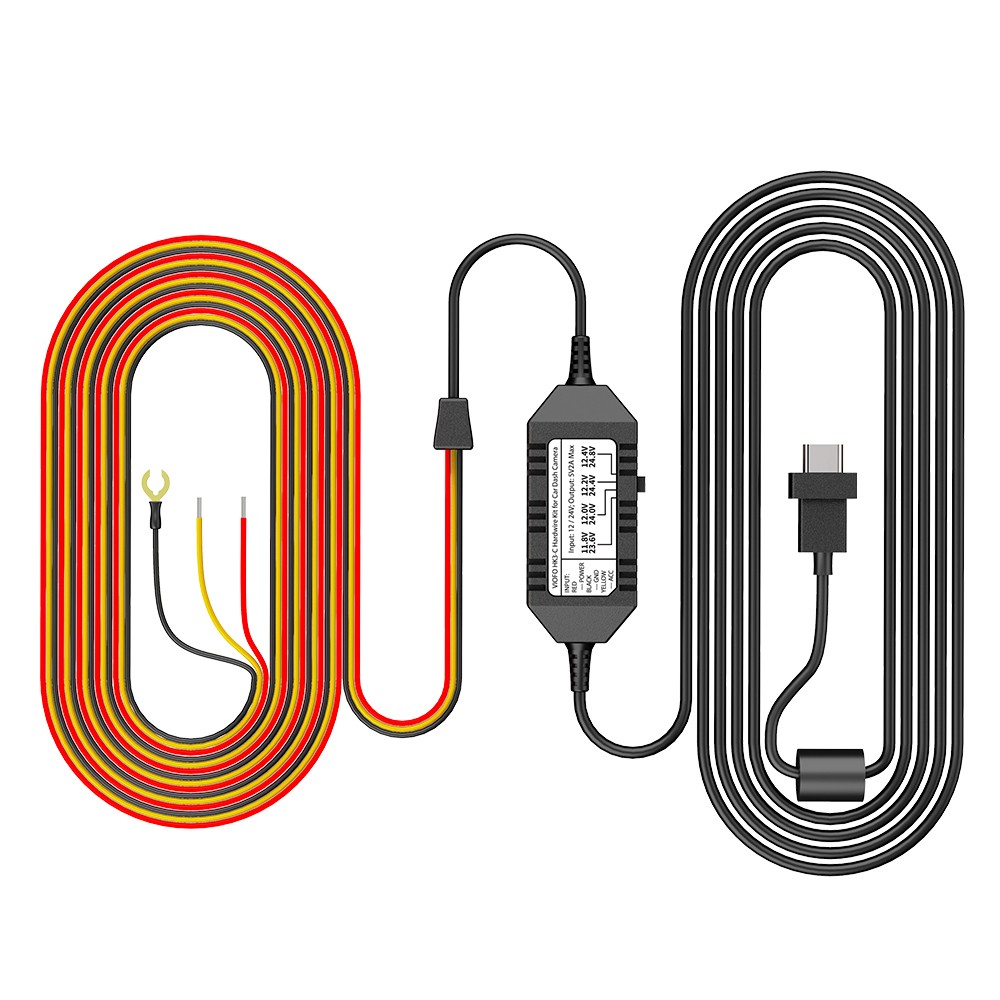

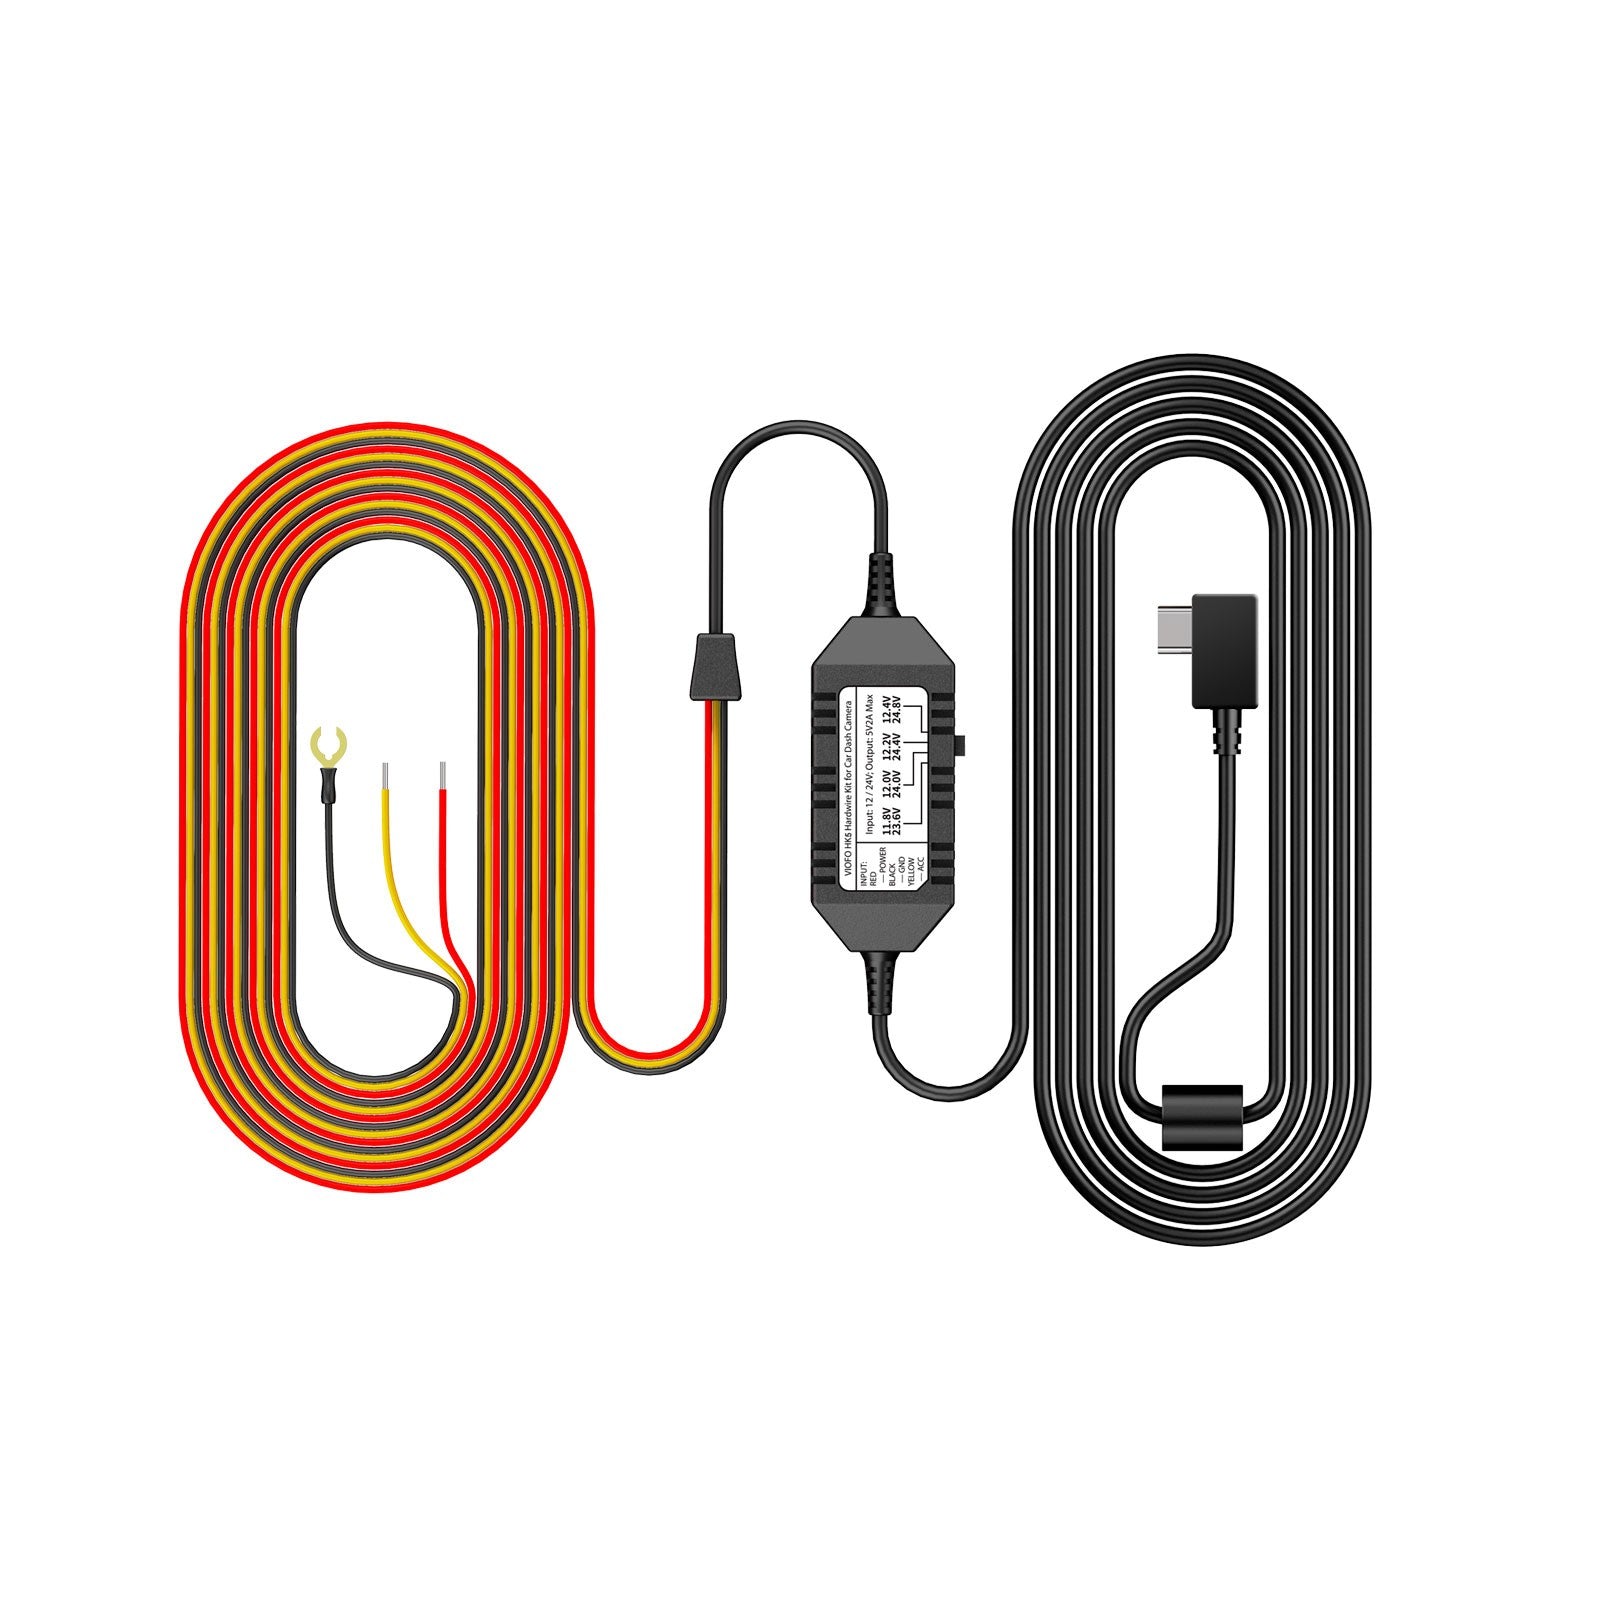


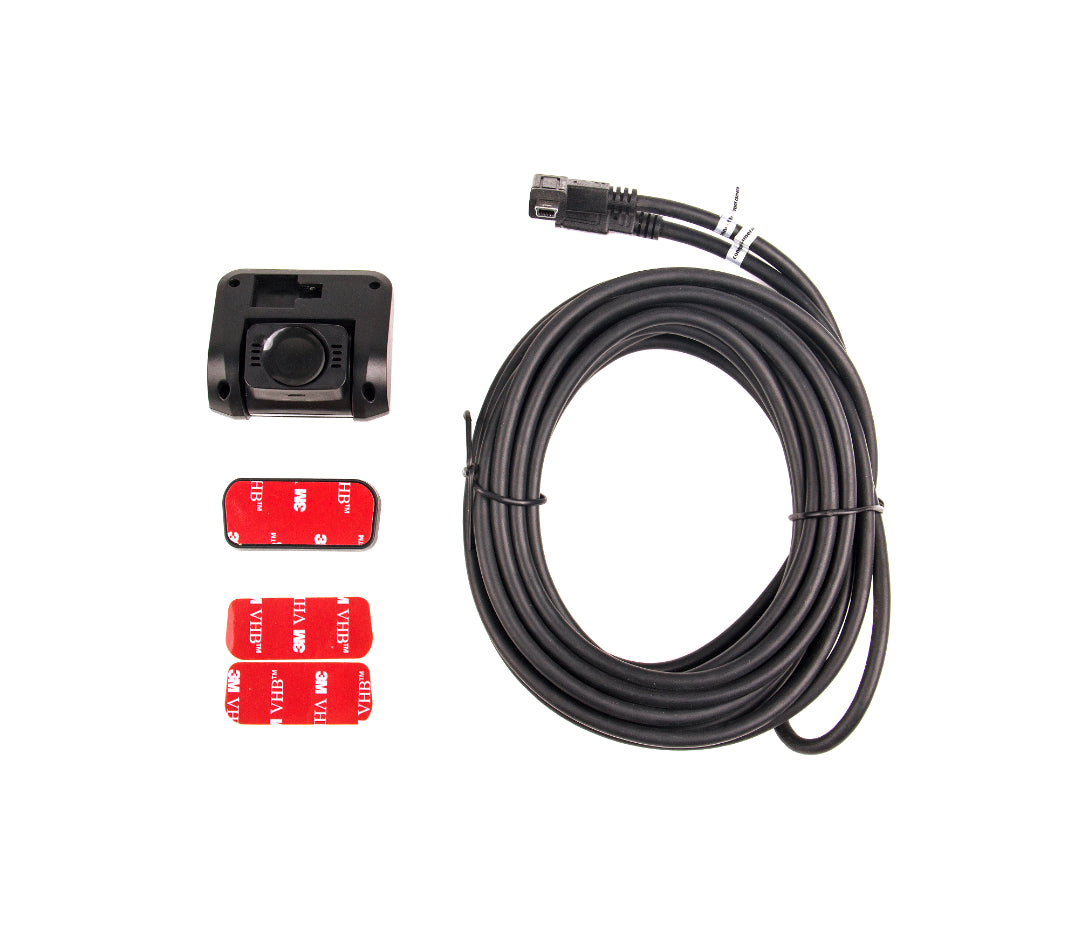


What is the HK3 Hardwire kit
The HK3 Hardwire Kit provides permanent power to the dashcam for the parking recording function. The ACC detection function will switch the dash camera into parking mode automatically when the vehicle engine is shut off and will resume normal recording when the vehicle engine is turned back on. The Low Voltage Cut-off function will protect the car battery from excessive discharge.
Compatibility of dashcam models:
A119V3 / A129 Duo / A129 Duo IR / A129 Pro Duo / A129 Plus Duo
How to Hardwire VIOFO Dash Cam with HK3 Hardwire Kits
NOTE: Make sure the engine is off and accessory power is off before proceeding.
Step 1: Locate your Fuse Box
Fuse boxes and fuse types vary not only between car models, but also on year and variant. Check the Car Manual to find the fuse box location and confirm the fuse type.
Step 2: Identify which fuse is ACC & Battery
Battery Wire (RED)
To identify a fuse for the battery connection, turn the ignition switch to the lock position. Look for a fuse that is live (allows electricity to flow) even when the ignition switch is in the off position. You can identify the fuse by applying a fuse/circuit/voltage test device when the engine is off. Place the tip of the tester on the exposed metal part of the fuse.
ACC Wire (YELLOW)
To identify a fuse for the ACC connection, turn the ignition switch to the ACC (Accessory) position. Look for a fuse that is live when the ignition switch is in the ACC position but off when the ignition switch is in the off position.
Step 3: Locate a Ground point
To identify a suitable ground point, use circuit tester in continuity mode. Locate a screw with direct connection to the vehicle body and check for a good continuity reading between the screw and the vehicle body, this should be < 0.1 ohm.
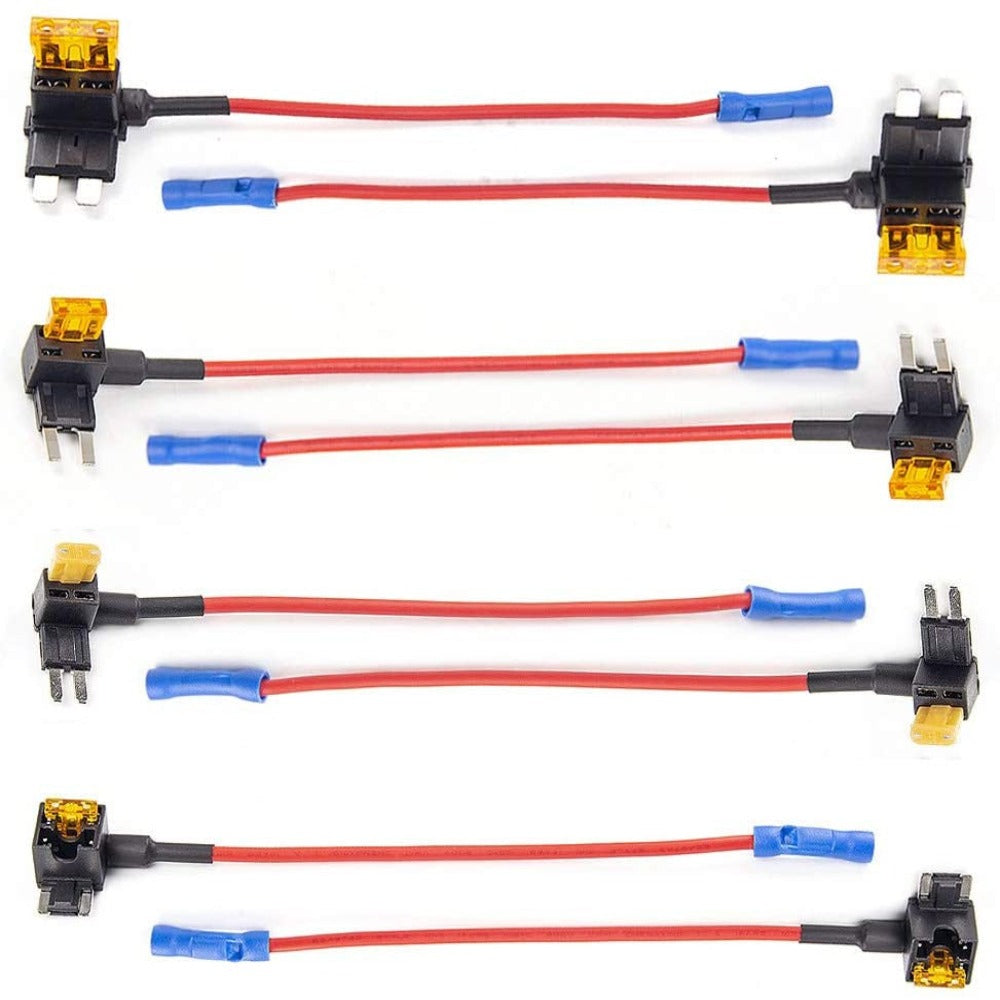
Step 4: Connect an Add-A-Fuse kit to the hardwire kit
Use an Add-A-Fuse kit for a clean installation. Once the fuse slot and type of fuse required for the hardwire kit is determined, a suitable add-A-Fuse kit can be crimped to the hardwire kit ACC and BATT connections. The crimp can be made successfully using either a standard crimp tool, or using standard needle nose pliers.
Step 5: Connect the fuses
Yellow (ACC) accessory power supply — Connect to a fuse that turns on / off with the engine.
Red (Battery) constant power supply — Connect to a fuse that is always powered, the connection must be made after passing through the fuse.
Black (Ground) connection — Place the spade connector under the head of a ground point screw or bolt ensuring a clean electrical contact and tighten the screw to secure.
Step 6: Test the Dash Cam
After connecting the power and ground wire connections (Red, Yellow and Black), plug the hardwire kit into the camera, then start the vehicle to check that it works. Also check the camera parking mode settings in the Viofo app.
Note: We recommend you test that the hardwire kit and camera function correctly, before fully securing the cables neatly behind the vehicle trim, because it is easier to troubleshoot if the wires are easily accessible.
The above is about the installation steps. If you still don’t understand, you can refer to the following two videos to install the HK3 Hardwire Kit.
Installation Video of HK3 Hardwire Kit
From Craig's DIY Car Youtube Channel
From HTX Dash Cams Youtube Channel
Get HK3 Hardwire kit on VIOFO Official Site
Get HK3 Hardwire kit on Amazon US
Get HK3 Hardwire kit on AliExpress